10 Tips for Working with UV Epoxy Resin
2024-09-27 16:33:30
UV epoxy resin has revolutionized the world of crafting and industrial applications. This fast-curing resin offers numerous advantages over traditional epoxy resins, making it a popular choice for various projects. Whether you're a seasoned professional or a DIY enthusiast, mastering the art of working with UV resin gel can elevate your creations to new heights. In this comprehensive guide, we'll explore ten essential tips to help you achieve outstanding results with UV epoxy resin.
UV Epoxy Resin Properties
Before diving into the practical tips, it's crucial to grasp the fundamental properties of UV epoxy resin. This fast-curing resin is unique in its ability to cure rapidly when exposed to ultraviolet light, offering distinct advantages over traditional epoxy resins.
Chemical Composition
UV epoxy resin consists of specialized monomers and photoinitiators that react when exposed to UV light. This composition allows for rapid polymerization, resulting in a hard, durable finish within minutes.
Curing Process
Unlike conventional epoxy resins that require mixing two components and lengthy curing times, UV resin gel cures almost instantaneously when exposed to UV light. This property allows for quick project completion and reduces the risk of dust contamination during curing.
Applications
UV epoxy resin finds applications in various fields, including jewelry making, electronics, dental work, and industrial coatings. Its versatility and quick curing time make it an invaluable material for both small-scale crafts and large-scale manufacturing processes.
Essential Tools and Equipment
To work effectively with UV epoxy resin, you'll need to equip yourself with the right tools and equipment. Having these essentials on hand will ensure smooth application and optimal results.
UV Light Source
A high-quality UV light source is paramount when working with UV resin gel. LED UV lamps or UV flashlights with the appropriate wavelength (usually 365-405nm) are essential for proper curing. Invest in a reliable UV light to ensure consistent results.
Protective Gear
Safety should always be a priority when working with any resin. Wear nitrile gloves, safety goggles, and a respirator mask to protect yourself from potential skin irritation and fumes. Additionally, work in a well-ventilated area to minimize exposure to VOCs.
Application Tools
Depending on your project, you may need various application tools such as silicone molds, mixing cups, stirring sticks, and precision applicators. Having a variety of tools at your disposal will allow you to tackle diverse projects with ease.
Proper Surface Preparation
The success of your UV epoxy resin project often hinges on proper surface preparation. Taking the time to prepare your work surface meticulously will ensure better adhesion and a flawless finish.
Cleaning
Thoroughly clean the surface you'll be working on, removing any dust, oils, or debris. Use isopropyl alcohol or a specialized surface cleaner to ensure a pristine working area. This step is crucial for achieving optimal adhesion and preventing imperfections in the final product.
Priming
For porous surfaces or materials that may not readily accept UV resin, consider using a primer. A suitable primer can enhance adhesion and create a smoother surface for the resin to bond with, resulting in a more professional finish.
Leveling
Ensure your work surface is level before applying UV epoxy resin. An uneven surface can lead to pooling or uneven distribution of the resin, compromising the final result. Use a spirit level to check and adjust your work area as needed.
Mastering Mixing Techniques
While UV epoxy resin doesn't require mixing two components like traditional epoxy, proper handling and preparation are still essential for achieving optimal results.
Temperature Control
UV resin gel performs best when used at room temperature. If your resin has been stored in a cool place, allow it to warm up to room temperature before use. This will ensure proper viscosity and easier application.
Bubble Prevention
To minimize bubble formation, gently stir the UV epoxy resin before use. Avoid vigorous shaking or stirring, as this can introduce unwanted air bubbles. If bubbles do appear, you can use a heat gun or torch briefly to pop them before curing.
Pigment Incorporation
When adding pigments or dyes to your UV resin, mix them thoroughly but gently. Use a small amount of pigment at first and gradually increase to achieve the desired color intensity without overpowering the resin's properties.
Applying UV Epoxy Resin
The application process is where your creativity truly comes to life. Mastering various application techniques will allow you to achieve diverse effects and finishes with your UV resin projects.
Pouring Techniques
When pouring UV epoxy resin, maintain a steady hand and pour slowly to avoid trapping air bubbles. For larger surfaces, start from one corner and work your way across to ensure even coverage. Use a spreader or tilt the surface gently to guide the resin if needed.
Layering
One of the advantages of fast-curing resin is the ability to create layered effects quickly. Apply thin layers, cure each one with UV light, and then add subsequent layers to build up depth or create intricate designs.
Embedding Objects
UV resin gel is excellent for embedding small objects or creating jewelry. Place your chosen items in the mold or on the surface, then carefully pour the resin over them. Ensure the objects are fully covered to achieve a smooth, glossy finish.
Curing UV Epoxy Resin
The curing process is where UV epoxy resin truly shines, offering rapid results compared to traditional epoxies. Understanding the curing process is key to achieving the best possible outcome.
Exposure Time
The curing time for UV resin varies depending on the thickness of the layer and the strength of your UV light source. Generally, thin layers can cure in 30 seconds to 2 minutes, while thicker layers may require longer exposure. Follow the manufacturer's recommendations for optimal results.
Multiple Exposures
For larger or more complex projects, you may need to cure the resin in sections. Rotate your piece or move the UV light to ensure all areas receive adequate exposure. This approach helps prevent uncured pockets of resin.
Post-Curing
While UV epoxy resin cures quickly, allowing your project to sit for 24 hours after initial curing can help ensure maximum hardness and durability. This post-curing period allows any remaining uncured resin to fully polymerize.

Troubleshooting Common Issues
Even with careful preparation and application, you may encounter some challenges when working with UV epoxy resin. Being prepared to address these issues will help you achieve consistently excellent results.
Tacky Surface
If your cured resin remains tacky, it may be due to insufficient UV exposure or high humidity. Try increasing the curing time or using a stronger UV light source. In high humidity environments, consider using a dehumidifier in your workspace.
Uneven Curing
Uneven curing can occur if the UV light doesn't reach all areas equally. Ensure your UV light source is positioned correctly and consider rotating your project during curing to achieve uniform results.
Yellowing
While UV epoxy resin is generally resistant to yellowing, prolonged exposure to sunlight can cause discoloration over time. To prevent this, consider adding a UV stabilizer to your resin or applying a UV-resistant topcoat to finished projects.
Finishing Techniques
The finishing touches can elevate your UV epoxy resin project from good to extraordinary. Mastering these techniques will help you achieve a professional-looking result.
Sanding and Polishing
For a glass-like finish, sand the cured resin with progressively finer grits of sandpaper, starting with 400 grit and working up to 3000 grit. Follow this with a polishing compound to achieve a high-gloss shine.
Buffing
Use a buffing wheel or cloth with a fine polishing compound to bring out the ultimate shine in your UV resin project. This step can help remove any remaining micro-scratches and achieve a mirror-like finish.
Sealing
For added protection, especially for jewelry or frequently handled items, consider applying a clear sealant over the cured UV epoxy resin. This extra layer can enhance durability and preserve the shine for longer.
Safety Precautions
Working safely with UV epoxy resin is crucial for protecting your health and ensuring a positive crafting experience. Always prioritize safety when handling fast-curing resin and associated materials.
Ventilation
Ensure your workspace is well-ventilated to minimize exposure to fumes. If possible, work near an open window or use a fan to circulate air. For frequent or large-scale projects, consider investing in a proper ventilation system.
UV Protection
Protect your eyes and skin from UV light exposure. Wear UV-blocking safety glasses when working with UV lamps, and consider wearing long sleeves and gloves to shield your skin from potential UV damage.
Chemical Storage
Store UV resin gel and associated chemicals in a cool, dark place away from direct sunlight. Keep them out of reach of children and pets, and always ensure containers are properly sealed when not in use.
Exploring Advanced Techniques
As you become more comfortable working with UV epoxy resin, you may want to explore more advanced techniques to push the boundaries of your creativity.
3D Printing
UV resin is widely used in 3D printing applications. Experiment with UV-curable resins designed for 3D printers to create intricate, high-resolution models and prototypes.
Mixed Media
Combine UV epoxy resin with other materials such as wood, metal, or fabric to create unique mixed media artworks. The fast curing time of UV resin allows for quick layering and experimentation.
Micro Encapsulation
Explore the technique of micro encapsulation, where tiny droplets of UV resin are used to encapsulate fragrances, pigments, or other materials. This advanced technique has applications in various industries, from cosmetics to pharmaceuticals.
Conclusion
By following these ten tips, you'll be well-equipped to tackle a wide range of projects using UV epoxy resin. Remember that practice makes perfect, so don't be afraid to experiment and push the boundaries of what's possible with this versatile material. With time and experience, you'll develop your own techniques and create truly spectacular pieces using fast-curing resin.
Contact Us
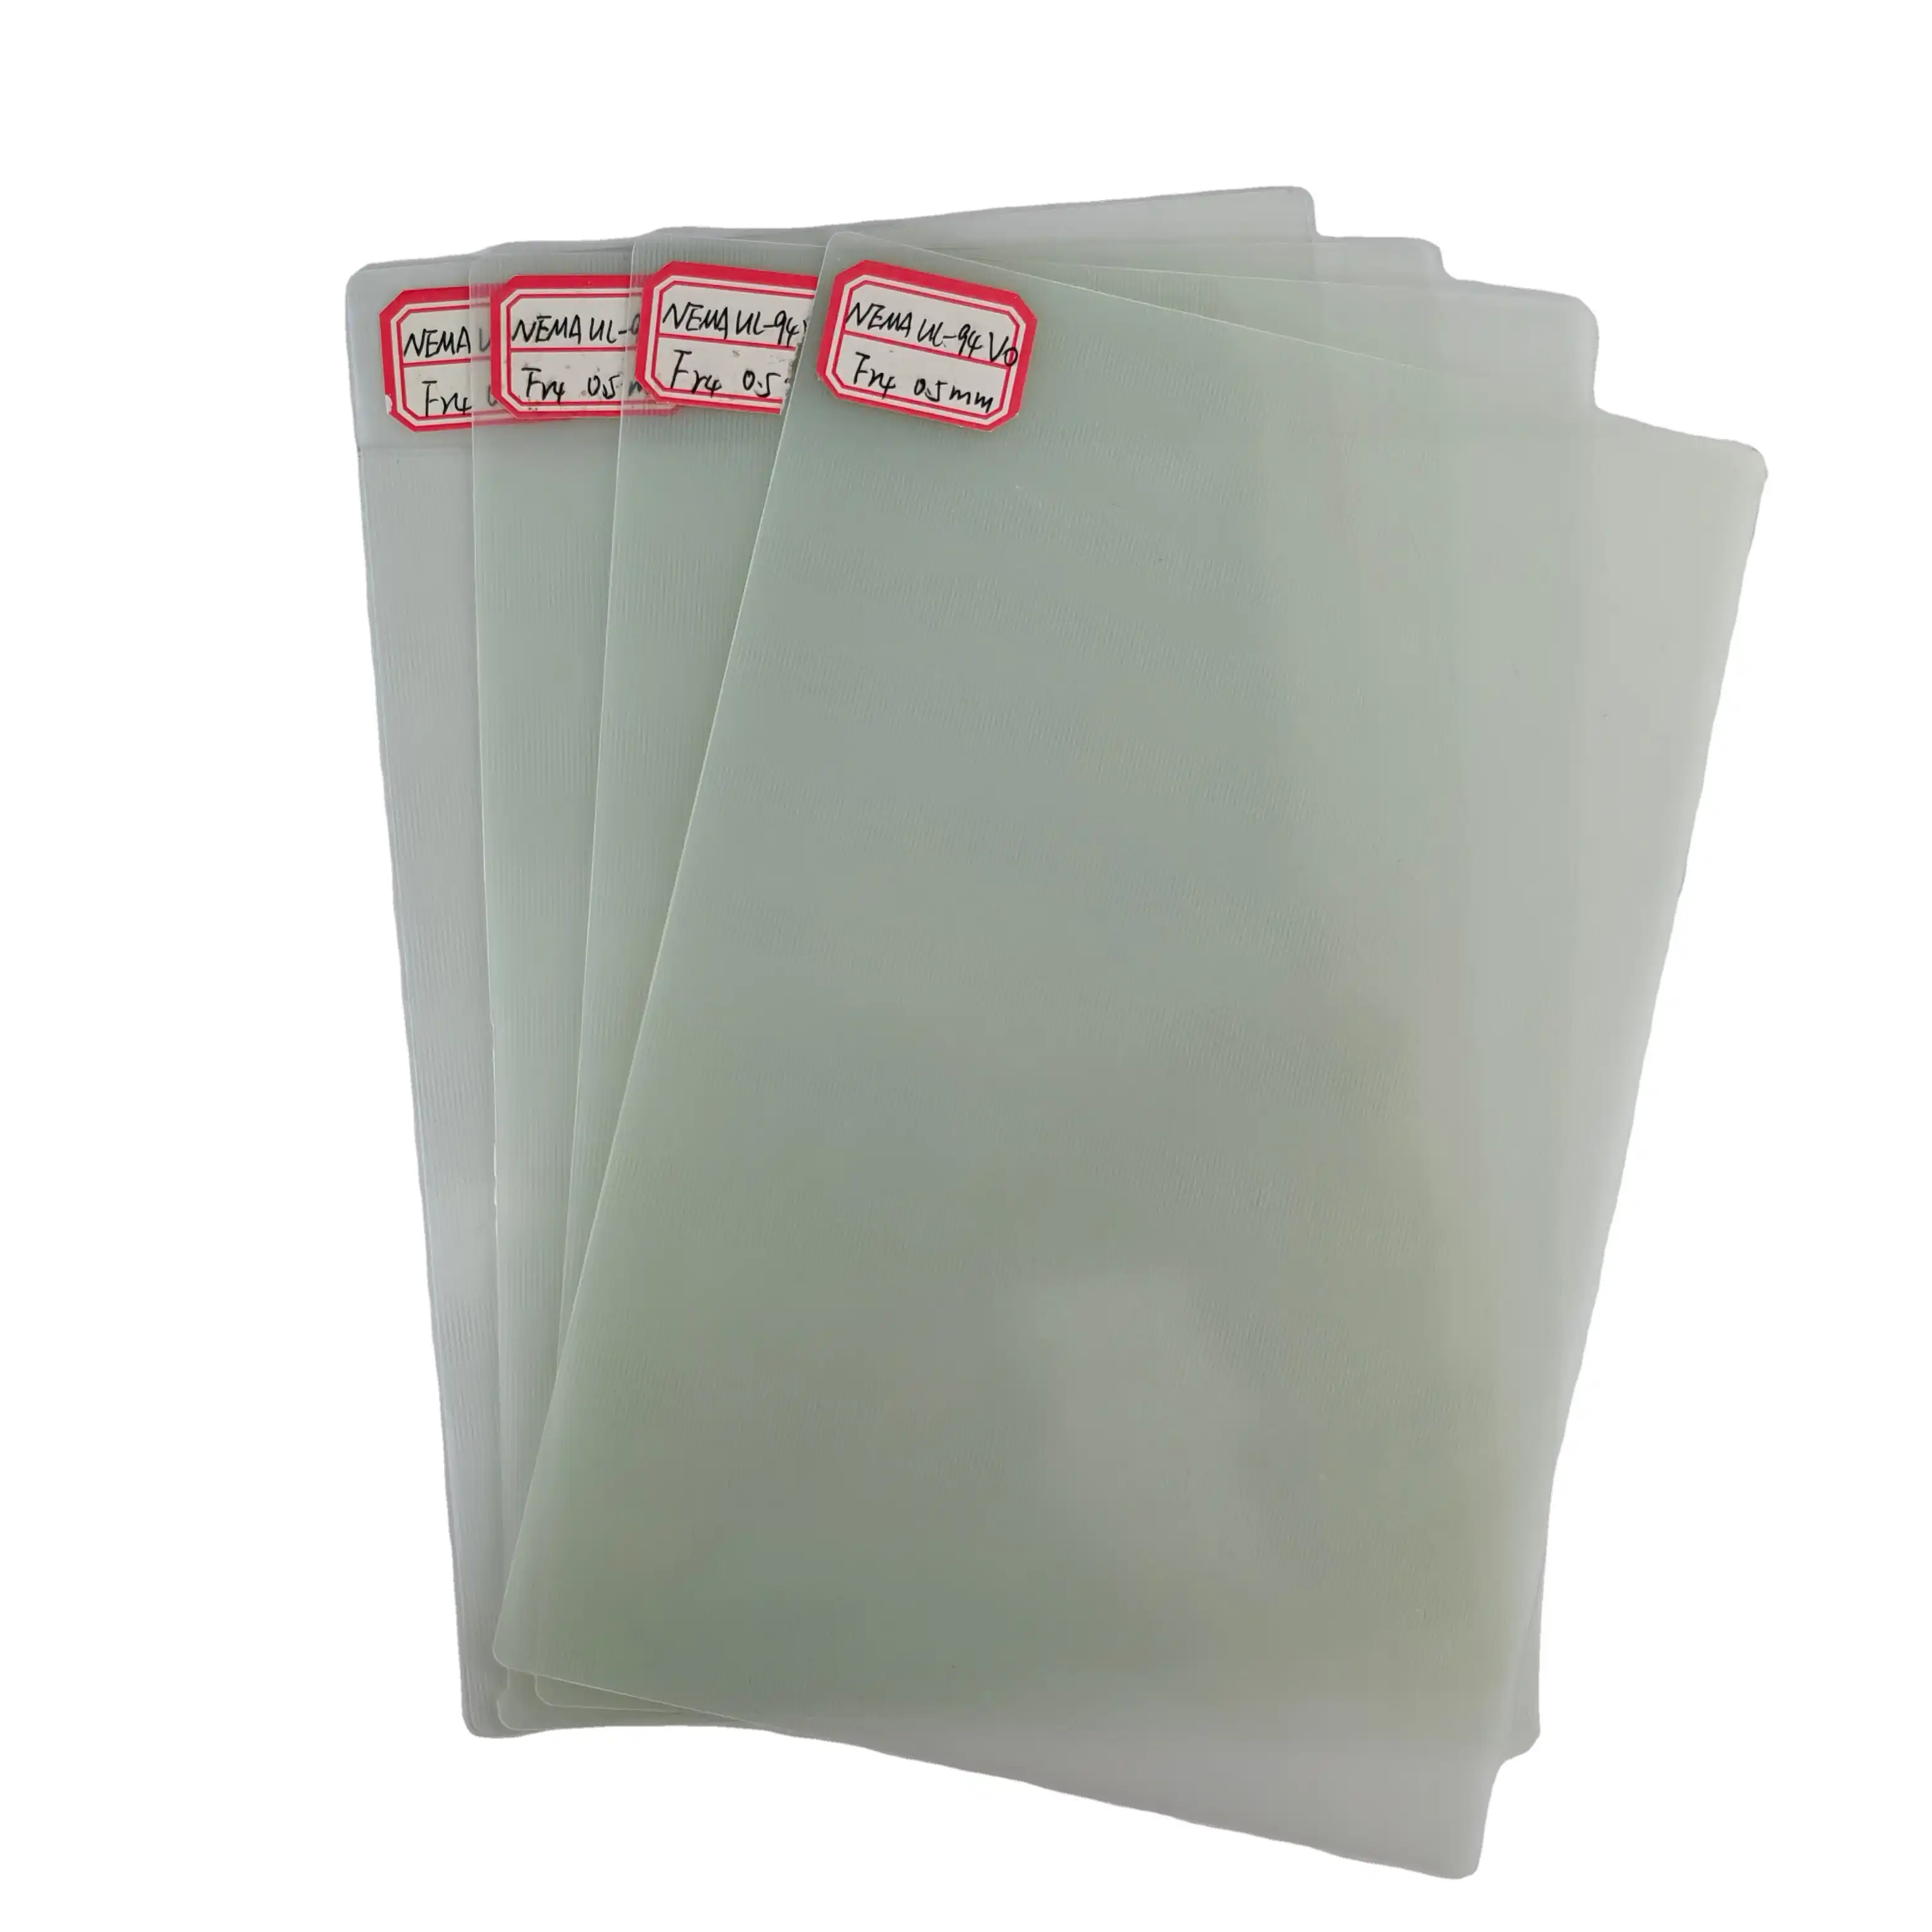
At J&Q, we offer premium insulating sheets and UV resin products to meet your needs. With over 20 years of experience in production and 10 years in international trade, we're committed to providing exceptional service and top-notch materials. For more information about our UV epoxy resin and other products, don't hesitate to reach out to us at info@jhd-material.com.
References
1. Johnson, E. (2022). The Complete Guide to UV Epoxy Resin: Techniques and Applications. Crafting Innovations Press.
2. Zhang, L., & Chen, H. (2021). Advances in UV-Curable Resins for Industrial Applications. Journal of Polymer Science, 59(3), 215-230.
3. Smith, A. (2023). Safety Considerations in Working with UV-Curable Materials. Industrial Safety Quarterly, 45(2), 78-92.
4. Nakamura, K., et al. (2022). Comparative Study of UV and LED Curing Systems for Epoxy Resins. Polymer Engineering & Science, 62(4), 891-904.
5. Brown, M. (2023). Innovative Techniques in UV Resin Jewelry Making. Creative Crafts Today, 18(3), 45-58.
6. Garcia, R., & Patel, S. (2022). Environmental Impact and Sustainability of UV-Curable Resins. Green Chemistry & Technology Letters, 7(2), 112-125.