Construction Steps of Epoxy Floor Coating
2023-11-15
Epoxy floor paintis a particularly aesthetically pleasing and durable type of floor paint. Epoxy floor paint is wear-resistant, mold-resistant, waterproof, dustproof, slip-resistant, and anti-static, with bright and diverse colors, making it easy to clean. It is widely used for surface coating in factories, laboratories, offices, warehouses, parking lots, and other areas. It is not recommended for outdoor use.
Step 1: Surface Inspection and Repair
1. New cement should not be used for construction (it needs to be cured for 30 days because the moisture and chemical alkali in the cement will react with the paint, causing the paint to blister and peel).
2. Epoxy floor construction cannot be carried out on surfaces with water, dampness, or oil stains. For surfaces with pits, unevenness, or cracks, epoxy mortar can be used for repair and leveling, and it is not recommended to use cement for direct repairs.
Step 2: Floor Grinding
1. The floor should be ground in a crosshatch pattern, paying special attention to grinding the areas near the walls and corners thoroughly. Then, use a vacuum cleaner to remove the dust from the floor.
Step 3: Epoxy Resin Primer
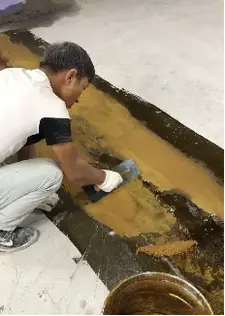
The primer should be mixed according to the manufacturer's specified ratio, measured using an electronic scale. After thorough mixing, it is applied using a trowel or roller. Subsequent construction procedures can only be carried out after the primer has completely dried (the drying time is greatly influenced by temperature and humidity, and at around 25 degrees Celsius, the next coat can be applied after 24 hours). The purpose is to enhance adhesion between the substrate and the surface layer.
Step 4: Epoxy Mortar Intermediate Layer
Add an appropriate proportion of quartz sand to the epoxy intermediate coating. After thoroughly mixing it using a machine, evenly apply it to the floor using a trowel. This step is done to increase the smoothness of the floor and enhance the compressive strength of the coating. The next coat can be applied after 24 hours at a temperature of approximately 25 degrees Celsius.
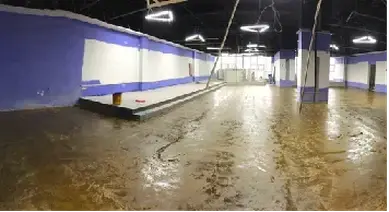
Step 5: Resin Grinding
Use resin grinding discs to grind the floor, aiming to achieve a smooth surface without holes, batch knife marks, or sanding marks.
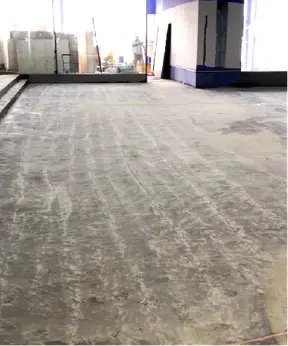
Step 6: Epoxy Putty Layer
Add an appropriate proportion of quartz sand and putty powder to the intermediate coating. After thorough mixing, evenly apply it to the floor using a trowel. This step is done to fill in any small pores on the floor, increase surface smoothness, and enhance the compressive strength of the coating. The next coat can be applied after 24 hours at a temperature of approximately 25 degrees Celsius.
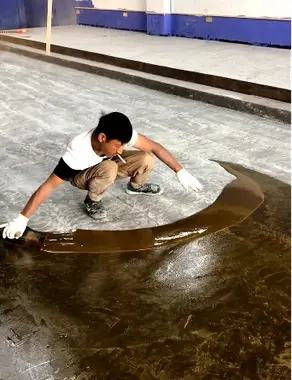
Step 7: Epoxy Resin Topcoat
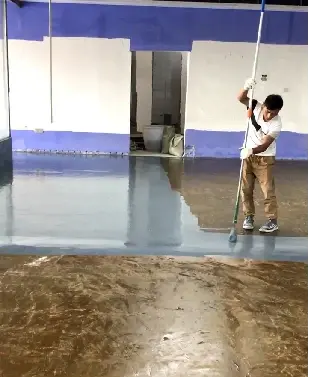
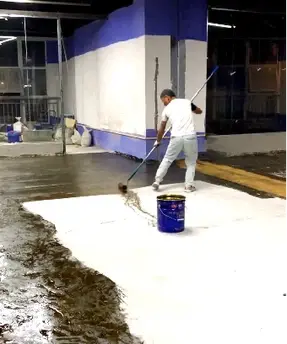
Inspect the floor for any voids, and then use a specialized roller to apply two coats of epoxy floor paint. Allow a 24-hour interval between coats, and pay attention to the production batch number of the topcoat to ensure color consistency. Upon completion, the floor should have a smooth, glossy, clean, and uniform appearance without any hollow spots. After the application of the epoxy topcoat, at a temperature of approximately 25 degrees Celsius, it is safe to walk on the floor after 2 days and drive vehicles after 7 days.
